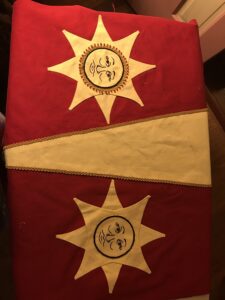
Banner for Baroness Nuzha
by Baroness Sadira bint Wassouf
Techniques used in the construction of the banner include: hand applique learned from Mistress Alison of the Many Isles, free embroidery, couching, and beading. Beads were made of (real) gold, red glass and garnets. Embroidery stitches included: buttonhole stitch (with picots), chain stitch, stem stitch and satin stitch. Lining and hanging loops were added by Baroness Nuzha, because I can’t sew a straight line.
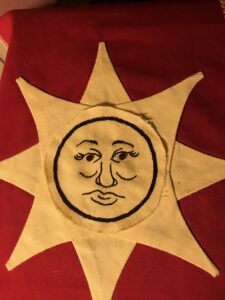
Step 1 – After appliqueing the two fields together, yellow on top of red for the V, two sets of rays were appliqued in an off-set pattern. The sun faces were embroidered and garnet eyes attached before appliqueing.
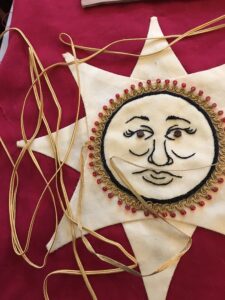
Step 2 – Thin gimp was appliqued around the faces and decorated with red glass beads on each curve of the gimp. I chose soutache braid to edge the rays.
Step 3 – The central V was edged with the same gimp as the sun faces.
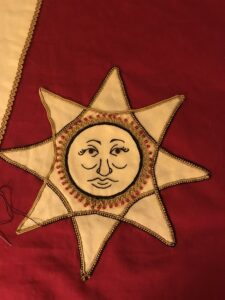
Step 4 – The soutache was first appliqued to the rays, then the outside ridge was couched with tiny, black buttonhole stitch with picots.
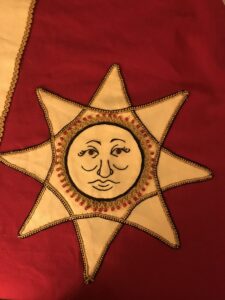
Step 5 – Finished sun face.
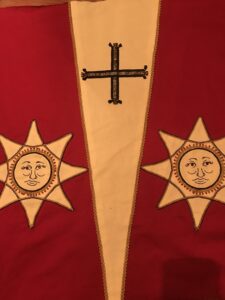
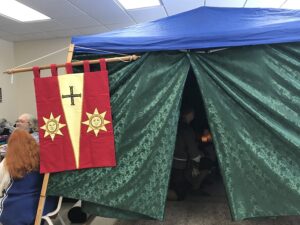
Step 6 – Image of a cross was constructed from two strips of trim, appliqued and beaded.
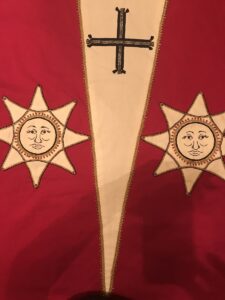
Step 7 – Yellow glass beads were added to each curve of the gimp and red glass beads to the point of each ray.
Step 8 – The banner was finished by Baroness Nuzha, who added lining and hanging loops and displayed at her Vigil for the Order of the Laurel.